FAQ
- Bolivia climbing questions
-
Mallorca island and rockclimbing
- What are main specifics of rockclimbing trip to Mallorca
- Mallorca island impressions
- Rockclimbing safety Spain
- Mallorca climbing accommodation
- What season is possible for rockclimbing in Mallorca
- Transport accessibility of climbing sectors in Mallorca
- Active vacation in Mallorca
- Saint Anthony night in Mallorca
- Peru climbing questions
- Gear reviews
-
Safety in the mountains
- How NOT to climb the summit?
- Mountain navigation
- At the limit of possibilities
- Mountain thunderstorm
- Solo ascents and mountain trips alone
- Mutual responsibility in mountaineering
- Safety illusions in the mountains - a rope
- Independent team of two
- Mountain troubles
- Psychological problems in the mountains
- Health in the mountains
-
Elbrus questions
- Elbrus climbing gear
- Climbing Elbrus with children?
- Mount Elbrus location?
- Elbrus logistics
- How to get to Mount Elbrus?
- Elbrus German airfield?
- Elbrus difficulty grade
- 5 points beginner must know about Elbrus
- How to prepare for Elbrus?
- Are there avalanches on Mount Elbrus?
- Climbing Elbrus solo?
- Seasonality of climbing Mount Elbrus
- How much time climbing Elbrus takes?
- Clothes for Mount Elbrus?
- Pressure at the top of Elbrus?
- Elbrus air temperature
- Elbrus sightseeing
- How much to climb Elbrus
- Gear questions
- Mountaineering questions
- Mountain climbing training
-
Rockclimbing questions
- Rockclimbing gear
- How to choose your first rockclimbing shoes
- The hand power in roclcimbing
- What is Rockclimbing tours
- Non olymnic rockclimbing
- What is rockclimbing?
- Where do you climb?
- Where and when we organize our rockclimbing programs?
- What is rockclimbing?
- Rockcliming program class?
- Climbing motivation
- Horse riding tours
- Iceclimbing questions
-
Questions on the alpine programs
- What to climb in Morocco?
- Weekend summit climb
- Georgia 2023
- Pico Aneto - what is that mountain?
- Mountain programs format
- Mountain climbing food ration
- Queries on the alpine program climbing Mount Bazarduzu
- Queries on the Kamchatka alpine program climbing
- What is combined program?
- What is sightseeing program?
- What is pilot program?
- What programs you have of the medium complexity level?
- Basic expedition rations
- Prices for the mountain climbing programs
- Queries on the Mountain Course in Adyl Su valley
- Program complexity?
- Questions about MCS AlexClimb
- Questions related to trekking programs
Gear for basic alpine programs
Read in Telegram in English
Leer en Telegram en Español
MCS AlexClimb mountain climbing School
General recommendations on the climbing equipment for the Basic level mountaineering program (Bezengi Classics, Adyl Su School, Ak Oyuk, Krestovsky Volcano, Breithorn, Mont Blanc, etc.)
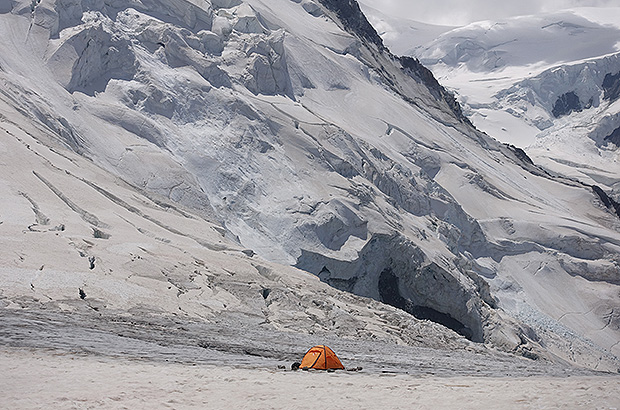
Camp of the MCS AlexClimb team at the beginning of the route to Mont Blanc
Let me start with the fact that the set of equipment is determined by the nature and complexity of the mountaineering program, while fundamentally depending on the altitude level and season of this program. If we talk about entry-level summer alpine programs, which are held in the alpine zone at relative altitudes of up to 4500 m (Caucasus, Alps, Altai, Kamchatka) and the absence of technical difficulties, then the main requirements listed in this text will be for clothing, shoes and sleeping equipment.
The requirements for clothing used in the alpine class mountaineering program require its comfortable use at temperatures down to -10, while most of the time, a set of clothing will be used in the temperature range from +15 down to -3-5. In addition, the specific nature of these programs during the summer season suggests a higher risk of rain than snow.
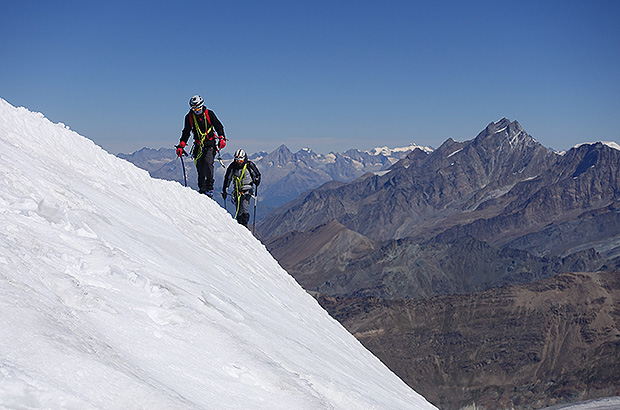
Climbing Mount Castor in Switzerland
In this case, we will talk about a three-layer set, consisting of an upper membrane layer (Shell) or something replacing it (windbreaker, wind pants), a middle insulated layer (Middle), and thermal underwear (Basic).
So, a set of clothes consists, first of all, of a wind and waterproof pair - a jacket and trousers, ideally membrane ones, because during intense loads it is advisable not only to keep moisture out from the outside, but also to remove it from the inside.
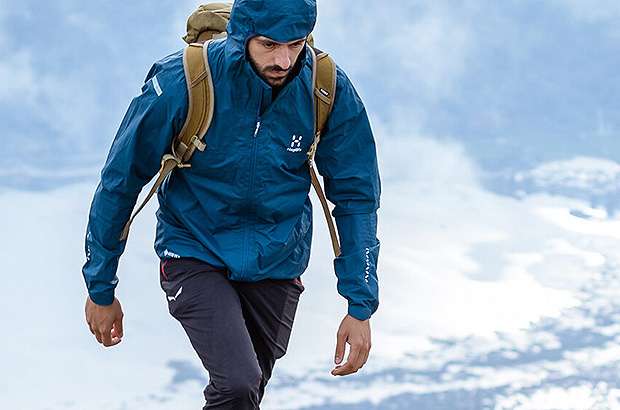
Example of using the Shell top layer
There are quite a few solutions to this issue, starting from super-expensive membrane jackets from top manufacturers North Face, Arcterycs, Mountain Hardwear, Marmot, Haglofs, etc. and ending with the most ordinary canvas jacket, which will fully cope with the task of protection from the cold and ventilation when under load. Although it will not protect you from the rain, this is not the biggest problem. Even if you have a good membrane jacket, a rain poncho is a must to have.
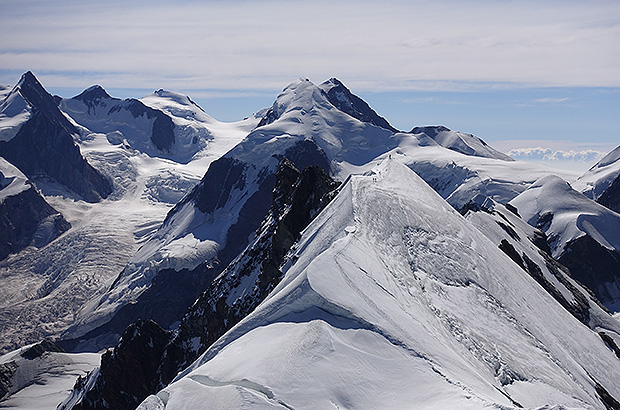
Climbing in the Monte Rosa massif (Switzerland)
Let me give you an example of our climb to Mount Kenya several years ago, when continuous rain for several days did not leave a single dry thread on any owner of the most expensive jackets. But the owners of ponchos and umbrellas remained relatively dry))) But this is Africa. In the Caucasus and the Alps, an umbrella will be a little unnecessary, but a good raincoat with a flap for a backpack (for example Tatonka) will come in handy. You should not take cheap disposable raincoats, because practice shows that only shreds of them remain after the first two days of use.
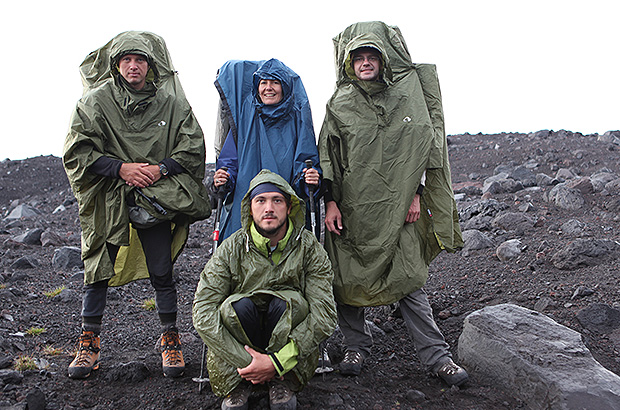
An example of using a Tatonka poncho with a flap for a backpack
Top Layer Summary
- if you want and have the opportunity to spend 1000-1500 euros on a beautiful jacket and pants - go ahead, at well-known retail climbing outlets. If you don’t want it, whatever you want. The top layer can be any light (cheap) windbreaker + raincoat. I myself use a pair of Haglofs jacket + Sivera (Russian made) membrane trousers and feel like a real cowboy.
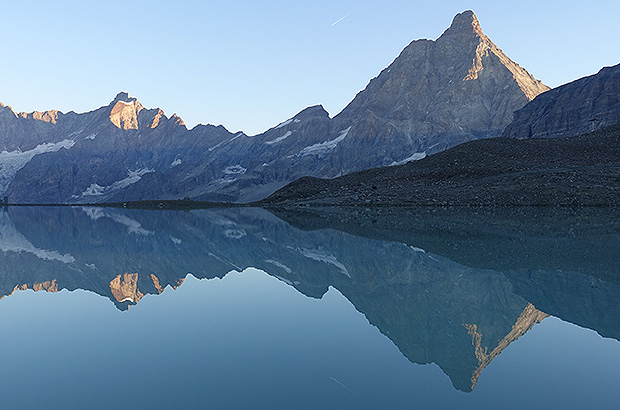
Mount Matterhorn on the border of Italy and Switzerland
The most practical solution for outer-layer trousers would be the option with side zippers along the entire length of the trouser leg (self-release), but in general, in basic programs this is not critical; you can get by with ordinary windpants.
Yes, I must add - do not take for mountaineering programs insulated jackets and pants intended for other purposes - for skiing, snowboarding, winter fishing, etc., because the top layer should be single, light and compact - these are the main properties of clothing for mountaineering.
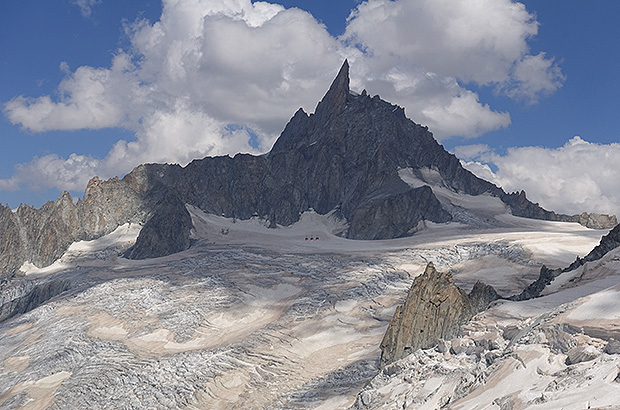
Dent du Geant massif, France - Italy
Middle insulated layer.
As a rule, in mountain programs of initial difficulty categories, light insulated jackets and pants with synthetic insulation (thick fleece, padding polyester) are used. This layer can be used as a top layer in adequate dry but cold conditions. In case of precipitation or strong wind, “Shell” is put on top of the insulated layer to protect against blowing and/or getting wet.
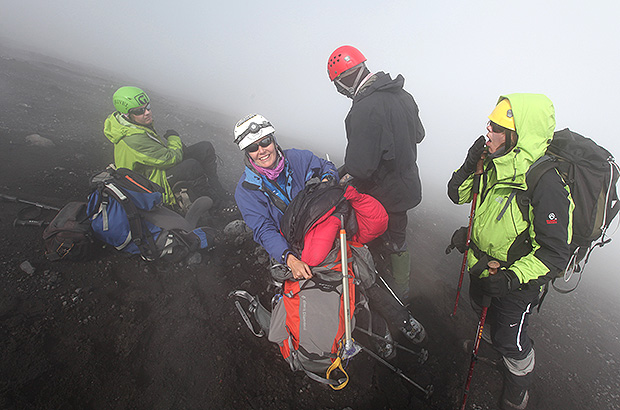
Kamchatka, climbing Klyuchevskaya Sopka
There are many options or solutions for this layer, for every taste and budget - the main requirement, as, indeed, for all climbing equipment, is weight. You should not take your favorite woolen sweaters, quilted kaftans and other archaisms.
However, keep in mind that this layer will be the main thermal insulation in your kit, so try to maintain a compromise between weight and thickness.
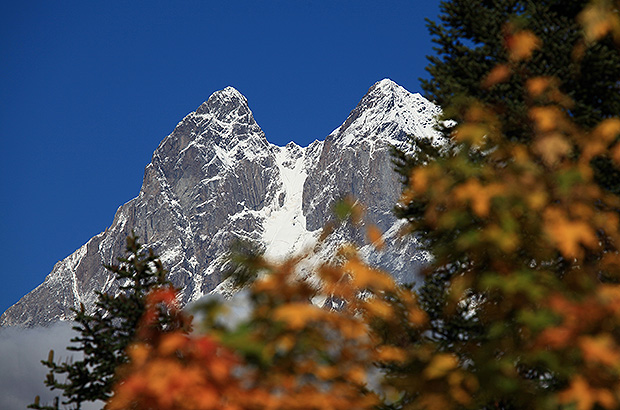
Peak Ushba, Georgia, Svaneti
As a Middle layer, I use a combination of a Haglofs synthetic jacket and Lowe Alpine Outerlimits synthetic pants - in combination with the already mentioned Shell set, this option works at temperatures down to -20 and altitudes up to 6400 m.
As a Middle layer for these programs, down-based insulation should not be considered! The fact is that down products are extremely vulnerable if they get wet or even damp, losing all their thermal insulating properties. So, for those who are especially afraid of cold, a light down jacket (500-700 g) can be kept in a backpack (in a waterproof bag), but in no case should it be considered as a main middle layer.
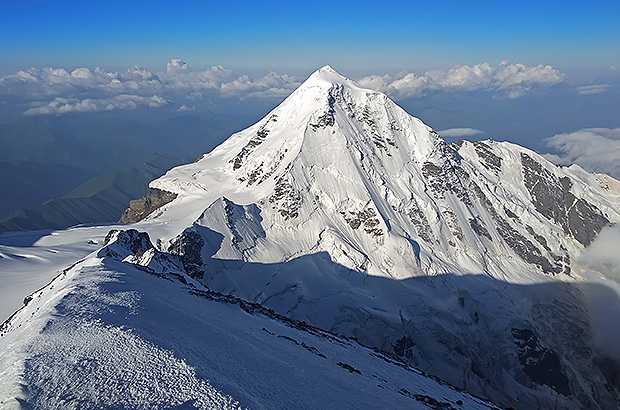
Peak Tetnuld in Georgia
Basic bottom layer or thermal underwear.
This is a basis of the whole set. Practice has shown the effectiveness of an insulated jacket + pants set made of Polartec 100, for example, the Sivera Az model or similar ones. Thin, form-fitting fleece worn directly on the body not only makes you look sexier. But it also allows you to retain heat at a level closest to the skin, to some extent working like a diver’s wetsuit.
It is the tight-fitting versions of insulated underwear that work well, the tightness of which determines their effectiveness - so it is better to try on these products carefully before purchasing, paying attention to their fit to all the bulges of your body.
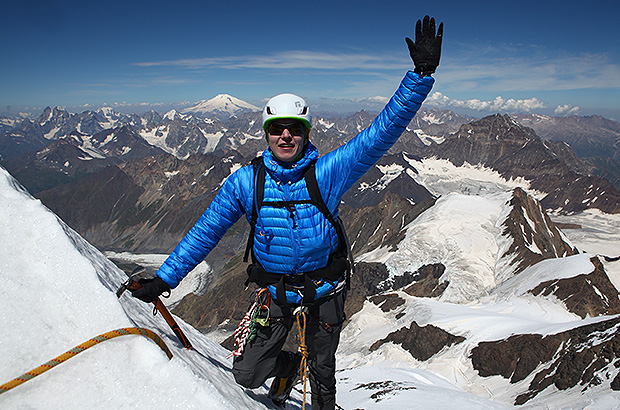
At the top of Mount Gestola, North Caucasus
This layer can work as a everyday walking clothing - that is, you can wear nothing on it under intense load and at a relatively comfortable temperature. On top of the Basic layer, you can immediately put on the Shell layer if the conditions are quite uncomfortable, but at the same time, are not cool enough to use the Middle layer.
Whether or not to take an additional set of lightweight thermal underwear is up to you. But in my own practice, I came to the optimal decision, in my opinion, to abandon unnecessary items and limit myself exclusively to the most necessary things. After all, from seemingly light, but numerous objects, additional kilograms add up, which then make your knees crack and your back ache - in a set of climbing equipment, weight is a critically important parameter of choice.
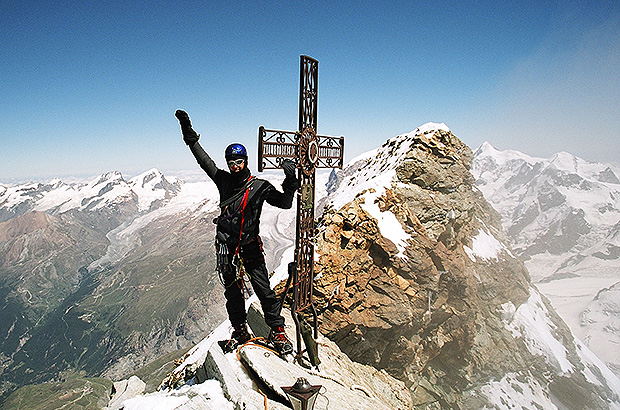
At the top of Mount Matterhorn, Switzerland
Footwear.
That is archival element of your equipment, on which the level of comfort, safety and success of the entire expedition depends. I won’t talk about black frostbitten toes, broken sprained ankles and other nonsense.
But believe me, even blisters on your heels on the route can lead to the cancellation of the climb and the risk of gangrene.
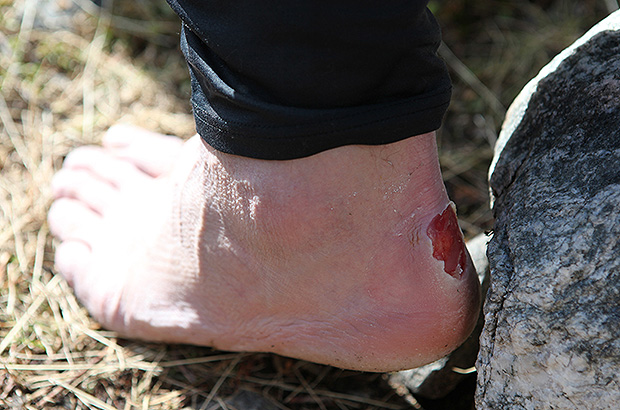
The consequences of hastily choosing climbing boots
For the alpine programs of initial level, you need good four-season, strong trekking boots - there are a lot of examples of this category in the market. There is no point in listing them, since any well-known manufacturer of mountaineering footwear produces a large number of such models for the mass consumer.
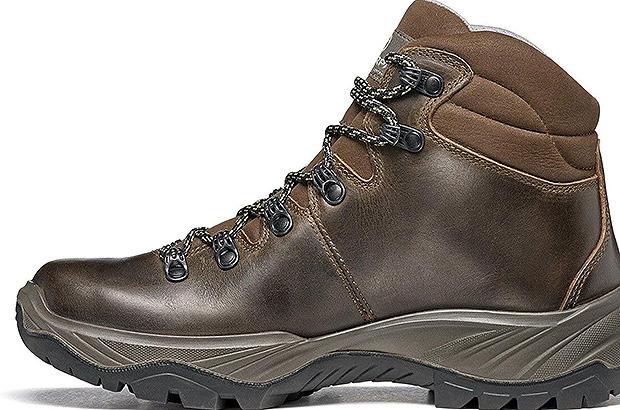
An example of comfortable boots for entry-level mountain programs
Light mountaineering boots will also be suitable, but there is a different price for the product, and, frankly, for the programs in which you walk by the trail for 99% of the route, in my opinion, there is no point in killing good and expensive specialized climbing boots.
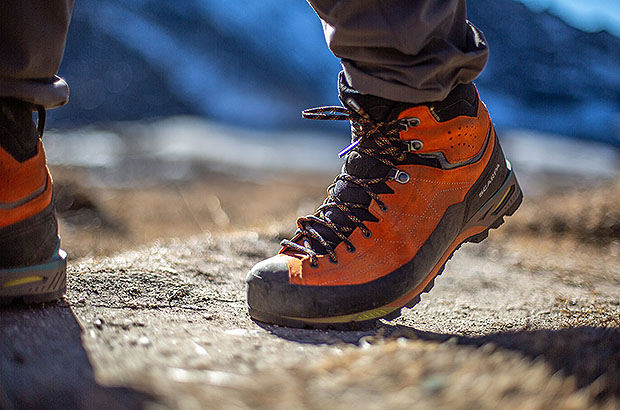
The optimal boot format for entry-level mountaineering programs
You won’t need crampon mounts on your for entry-level programs—good trekking boots, if necessary, soft mount crampons can be fitted with quite reliably. This will be more than enough to solve all possible difficulties on the basic route, including even the iceclimbing training module.
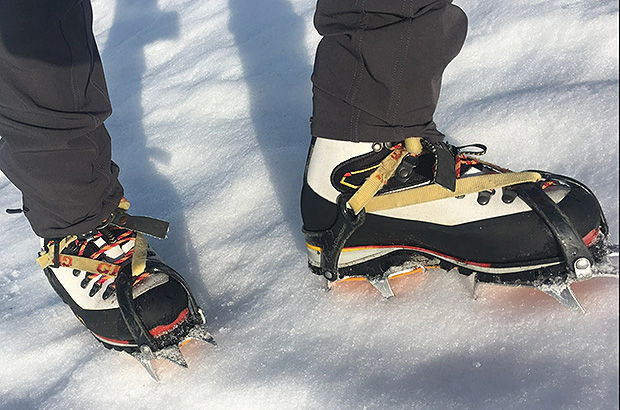
Using climbing boots with crampons
Selecting boots by size is a very important point in the entire process of choosing equipment. Under no circumstances should the boots press your toes even lightly. When wearing a thick sock, there should be a margin of at least 0.5 cm to maintain mobility of the toes. At the same time, the boots must effectively fix the ankle, eliminating the mobility of the foot forward and backward. Otherwise, when descending, this can lead to calluses on the heel and stubbed toes.
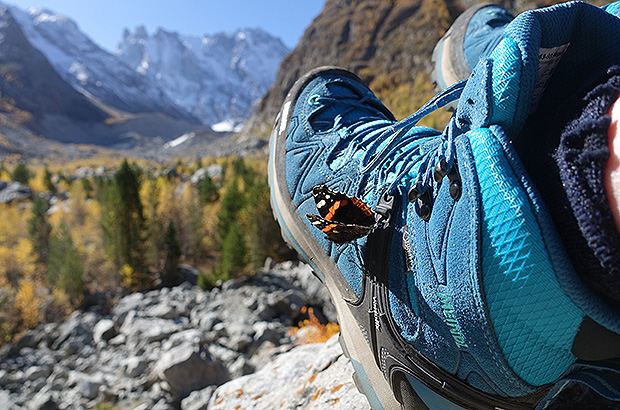
Climbing boots require careful fitting and breaking in before going out to the mountain route
Be very careful when choosing boots - you need to measure on exactly the sock with which they will be used. In addition, shoes must be broken in before the trip.
In addition to boots, you should definitely have a change of footwear on the route in the form of very light sneakers, Crocs or just flip-flops - the pleasure of changing the environment for your feet will exceed all expectations, believe me!
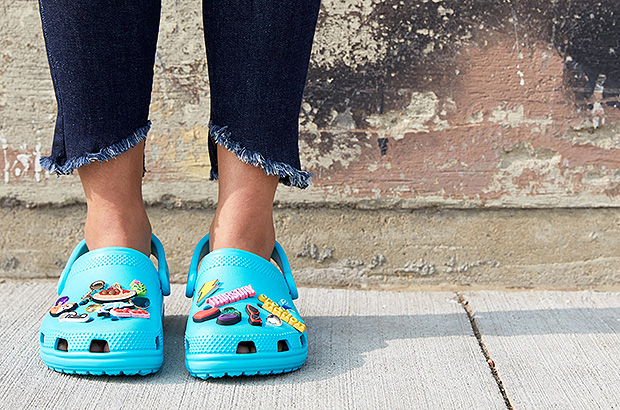
Light footwear makes your rest on the route truly comfortable
Socks. Also quite a serious piece of equipment. No woolen items knitted by grandma! We go to the store and buy expensive, thick, medium-height (20-30 cm) socks for trekking or mountaineering.
They differ from the ordinary socks in their improved thermal insulation properties, resistance to wear, ability to dry quick and provide warmth even when damp. Manufacturers – Lorpen, Sivera, Icebreaker, Jack Wolfskin, etc., there is already quite a lot of options on the market.
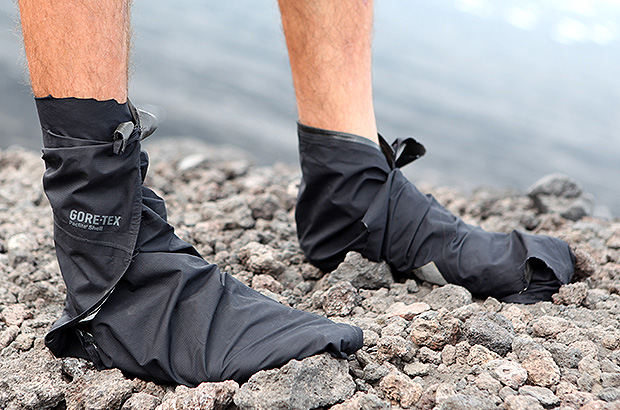
Express trekking sock solution in Kamchatka style
If your shoes are new, don’t be too lazy to walk around in them, together with socks, ensure that your feet are completely ground into the shoe to avoid annoying problems along the route.
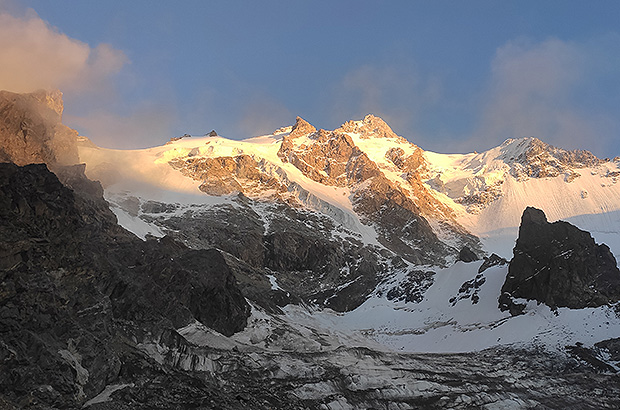
Peak Dykh Tau, northern Caucasus
In terms of wearable clothes, everything seems to be the same.
If you have any questions after reading the text, don’t hesitate to ask – I’m always ready to help you and to supply my equipment selection with the more subjects!
Sleeping set – sleeping bag and mat.
From the important section of climbing clothing we move on to an even more important section related to our rest, recovering and sleep.
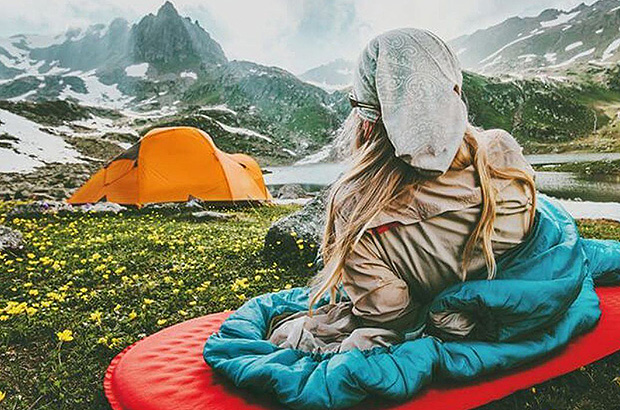
A set of a good sleeping bag and a comfortable mat is a guarantee of your comfortable night's rest on the mountain route
The most important condition for the success of the entire mountaineering expedition, acclimatization, or just fun mountain route that is your ability to fully recover and rest after physical exercise. This opportunity is directly related to comfortable conditions for your rest and sleep.
Therefore, there can be no compromises here - we will only save weight, but not money to buy a good sleeping bag and a good inflatable mat. By the way, the cost of this equipment directly depends on its weight - the lighter the sleeping bag, the more expensive it is.
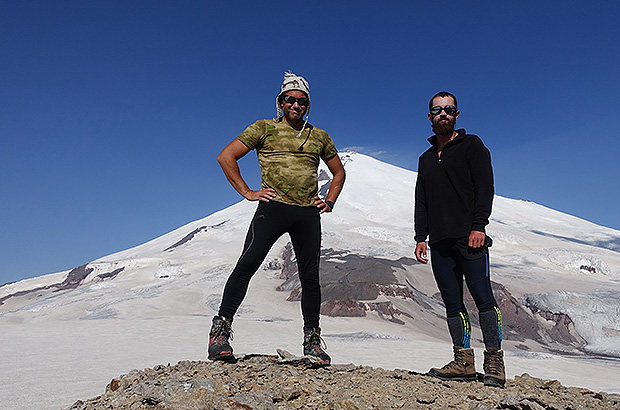
On the route to the summit of Mount Elbrus along the Eastern Lava Flow
For mountain programs of an entry level of difficulty, it is enough to have a sleeping bag with a synthetic filler with a comfort temperature of -5C -10C, which implies critical temperatures of use (Extreme) down to -20C. In this case, the weight of the sleeping bag should not exceed 2 kg. In this segment you can find many models from almost all manufacturers of camping equipment, while the top ones in terms of price/quality ratio will be North Face, RAB, Mountain Hardwear, C.A.M.P., Marmot, Mammut, Alexica, etc.
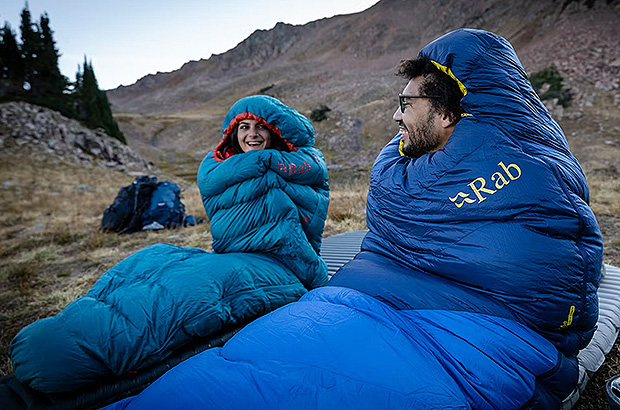
Choosing quality sleeping gear is a critical element of your preparation for mountain trek or climb.
A down sleeping bag is not advisable if you do not have experience using down items - the reasons for its undesirability are indicated above. Suffice it to say that if you get your down sleeping bag wet in the rain or drop it in a river (anything can happen), then you will no longer have any further comfortable overnight stays on the route - it is impossible to dry the down sleeping bag. In addition, after getting wet, it will most likely become completely unusable.
But with a synthetic sleeping bag everything is much easier and simpler, although it is somewhat inferior in weight and compactness to a down one, but it is more unpretentious and reliable.
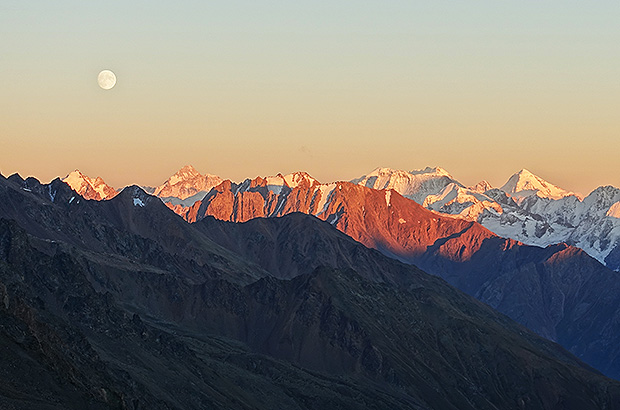
Sunset over the Main Caucasus Range, view from the Irik Chat pass on the ascent route to Mount Elbrus Sleeping mat.
Don't abuse your own body, take an inflatable one. In the sense that they call “self-inflating”. It is unlikely that is will inflate by itself, but definitely it gives you a good night's sleep and comfort, regardless of the surface on which you put it out. Unlike traditional polyurethane foam mat, which is almost a thing of the past, inflatable sleeping mats provide a completely different level of comfort and compensate for any unevenness, even if you lay it on the pine cones in the forest, you will sleep comfortable and snore like at home. Recommended thickness 3-4 cm, length according to your body height.
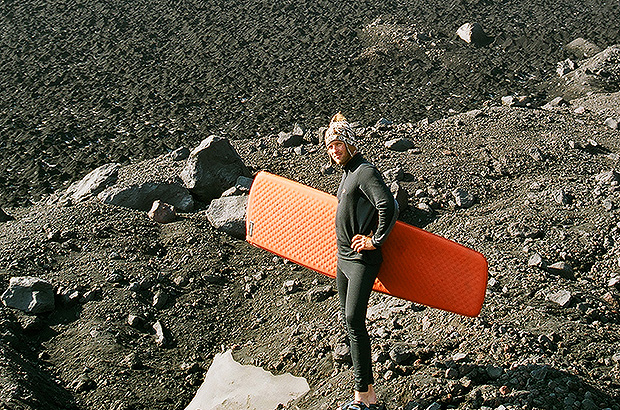
The full-size Therm-a-rest mat is an expensive but very convenient solution for comfortable rest in any conditions
It’s up to you to decide, of course, but I’ll share my experience. For myself, I have long and definitely settled on the Prolite 4 model from Therm-a-Rest, and specifically the short (120 cm) version. (suitable for technical routes when you put a backpack at your feet)
This is a rather expensive solution, but the quality of the product justifies the cost. A short sleeping mat takes up significantly less space than a long one, it is lighter and more compact. The lack of length of the mat can always be solved by placing a backpack at your feet. The main thing is that the sleeping mat should protect you from head to buttocks; below is not so critical. In general, it is up to you for decide.
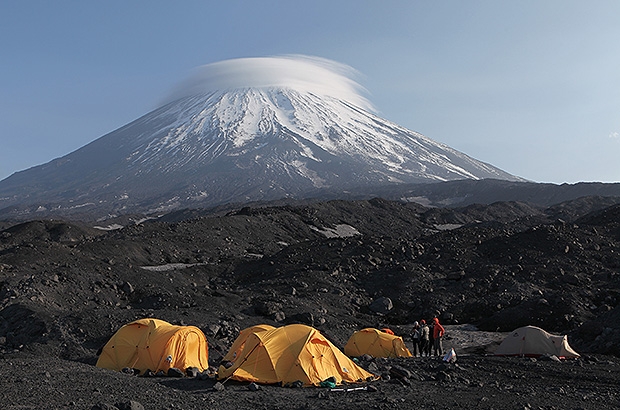
MCS AlexClimb camp at the foot of the volcano Klyuchevskaya Sopka in Kamchatka
One important point to keep in mind regarding any inflatable sleeping mats. For all their advantages, they have two serious disadvantages. The first one I already mentioned is the price. Secondly, these things, regardless of their quality, are extremely vulnerable, and you need to handle them with extreme care - do not carry them outside your backpack, avoid the proximity of any sharp objects, do not smoke or place them near a burner, do not leave them in the direct sun and do not overload them making love with your soulmate... In general, such aa item as inflatable sleeping mat should be protected like the apple of your eye.
What if suddenly you’re a goofball?! Then forget about the inflatable mat, sleep on the foam and count your bruises in the morning.
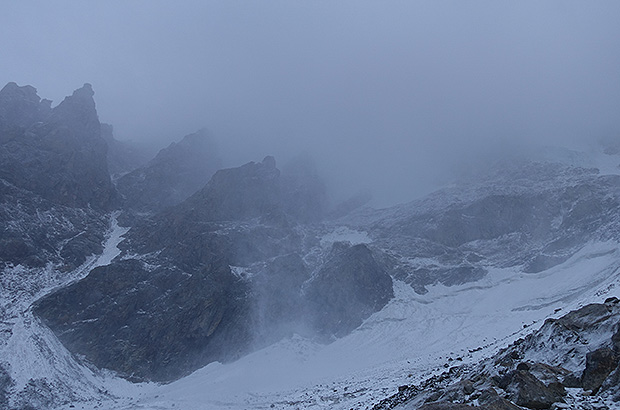
Bad weather in the Dykh Tau last camp
Backpack
Let's assume you have collected the entire climbing gear set listed above. What else is left? Of course, the bag in which you will put all this - a high quality backpack. Here, as everywhere else, there are some nuances. It is clear that your grandfather’s canvas “bun” from Soviet taiga romance (if you know anything about that) will not suit - let it remain for the museum.
A modern mountain climbing backpack should not only contain everything you need, but also be as light and easy to carry as possible. Today, choosing a good backpack is not so easy due to the incredible number of different models and designs.
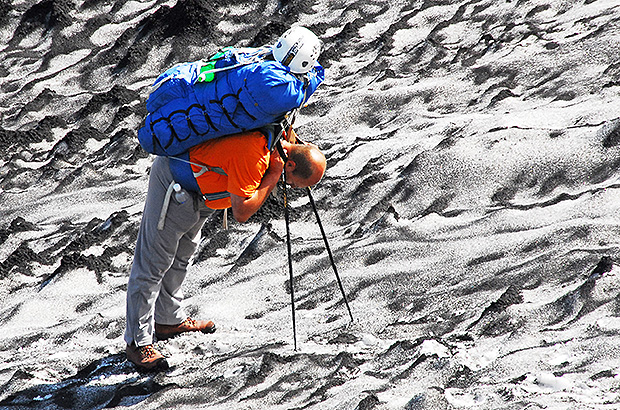
Climbing people say that girl in the mountains is like a suitcase without handle (hard to carry but not good to throw away either) - in that regard a good backpack is like a wife - it fits tight, hard to carry, desirable but impossible to lose.
However, if you don’t delve deeply into the market for backpacks for mountain sports, then for this you need a strong waist backpack, weighing less than 2 kg, with a volume of 70-90 liters.
The volume or capacity of a backpack is a relative concept - in reality, the capacity of a backpack depends not so much on its volume, but on your ability to pack things rationally.
For example, on the easy mountain programs, everything fits into my 50-liter backpack...but it is individual issue
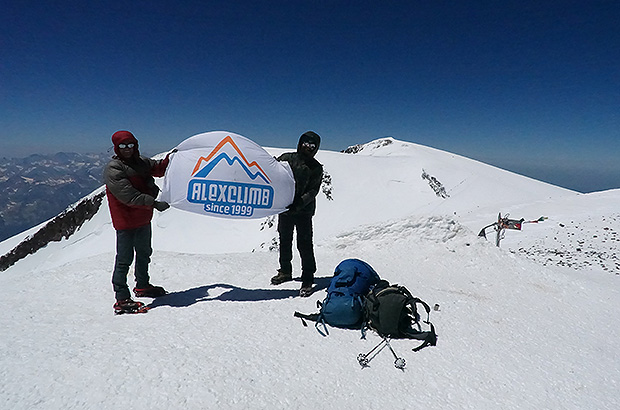
At the Summit of Eastern Elbrus
And there is still room left for all sorts of unnecessary things like a good camera or even a quadcopter))) This comes with experience. To begin with, I consider the optimal volume to be 70 liters, for alpine programs that do not involve carrying a large amount of equipment and with the duration of the autonomous part of the route no more than 4 days.
When asked about the need for a second smaller backpack, I confidently say no. It is nor needed nor advised. The main backpack of a reasonable volume (if it is not a monster of 120-150 liters) on the easy climbing or trekking routes performs all functions - both main and secondary backpack - there is absolutely no need to carry extra cargo.
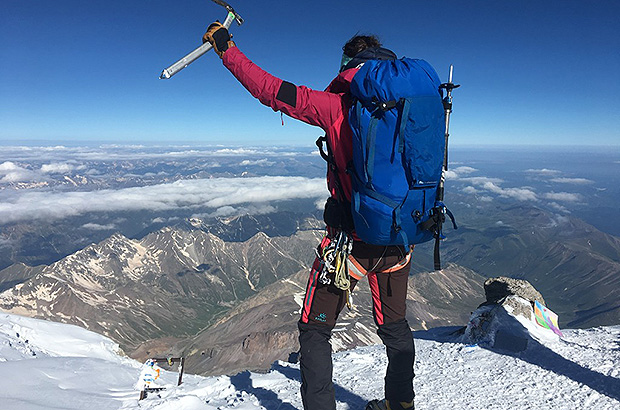
I use the Black Diamond Mission 75 backpack - for me this is the optimal format of a mountain backpack for mountaineering routes of any level. I truly recommend
As for important personal equipment, you will also need trekking poles - any telescopic ones. When you learn to use them, you will understand that without trekking poles it is almost impossible to walk on snow, ice, or scree slopes in the mountains. Even when walking on the good alpine trail, trekking poles make the process much safer, easier and make your life better.
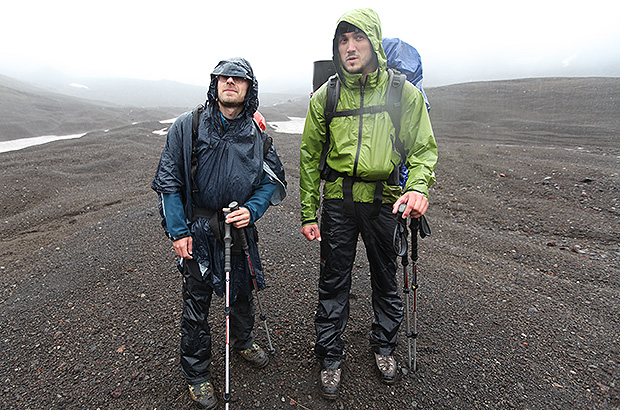
Trekking poles make it easier to move on any type of mountain terrain
Please note that trekking poles, especially at first, are consumables, take those that you won’t mind breaking and throwing away - this is a purely financial question - there are poles for 30 euros, there are for 300 - they will have some difference in weight, but there is no significant difference in use.
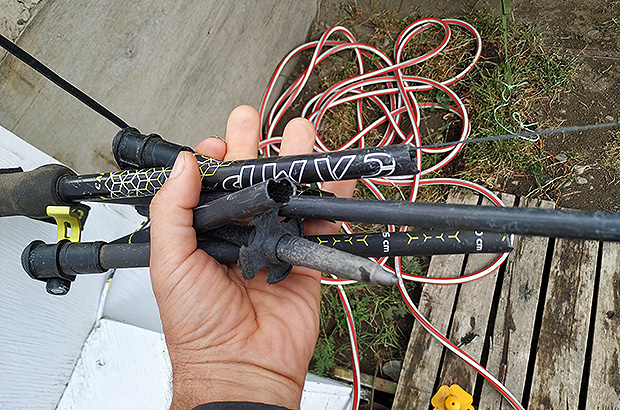
Fragments of super-expensive CAMP carbon trekking poles that did not survive the 3-day approach to the route to Cerro Torre in Patagonia
Perhaps that's all I was to say about gear. I won’t go into the nuances of flashlights, knives, watches, glasses and other little things, I’ve already wrote down so much of the text.
Participating in my mountain climbing expeditions you don’t have to worry about all the other equipment - tents, helmets, ropes, ice axes, crampons - as a rule, the use of this equipment on the basic routes is not required. In other cases, basic rental is included in the cost of the program and, accordingly, the organizer is responsible for the quality of this equipment. You just need to check the availability of the needed personal items.
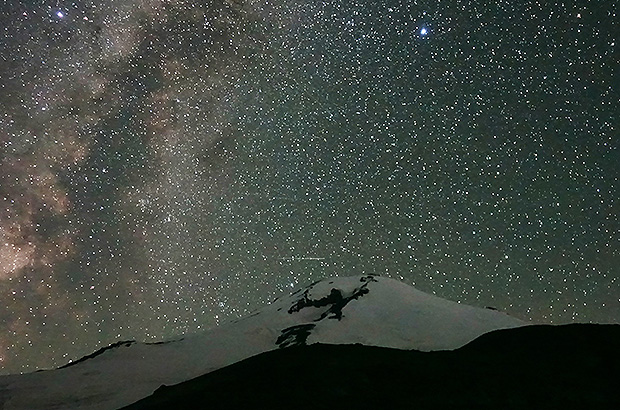
Night view of Mount Elbrus at night from the camp 3900 on the ascent route along the Eastern Lava Flow
However, if you want to have your own equipment for mountaineering, this is the ideal solution - when buying gear for most beloved yourself, no compromises on price and quality are taken into the account!
Author of text and photographs - Alex Trubachev
Your guide to mountaineering, ice and rockclimbing
MCS EDIT 2023
Other related questions:
- Belay device categories
- How to choose your first rockclimbing shoes?
- Independent team of two
- Safety illusions in the mountains
- Do I need to buy a lot of expencive gear?
- Basic first-aid kit
- Basic expedition rations
- Overview of the X-Light iceaxe of the manufacturer C.A.M.P.
- Trekking poles in mountaineering
Our Principles
AlexClimb Rule #1 - Safety First
From the very beginning of our activity, here nearly 16 years, the first Principle of work of School of mountaineering and rock-climbing of MCS AlexClimb is the Safety Priority. On the basis of this Principle all process of training is based, all programs and rounds are developed and carried out only within this main principle. We consider that at professional approach to development of programs, at personal discipline and correctly put motivation - occupations by mountaineering and rock-climbing are COMPLETELY safe. And from the return - all troubles and accidents in our sport come from nonprofessionalism, from ignorance or neglect by elementary standards of safety, from irrational motivation, from revaluation of own forces and opportunities. All these prerequisites we COMPLETELY EXCLUDE in our work - ours Rock-climbing, Ice climbing and Mountaineering are based on one Principle - the Safety Priority. In rock-climbing, mountaineering and ice climbing, the Priority of Safety of MCS AlexClimb-is your personal security and comfort irrespective of, than we are engaged - we train muscles and we work technology of the movement in the sports hall and on the rock climbing wall, we make the way through snowstorm to top or we relax on golden sand of the Caribbean beach after hot day of trainings on rocks. The Safety priority - the main credo of School of mountaineering and rock-climbing of MCS AlexClimb.
AlexClimb Rule #2 - Leave No Trace
Closely interacting with Nature, working with the active programs in mountains, woods, lakes and rivers, we perfectly understand the importance of carefull and respectfull bahavior towards the Nature, for its resources. From the very beginning of our outdoor-activity we adopted rules of Leave No Trace technique - the standard of behavior of the person accepted in all the civilized world in relation to environment and especially - to the wild nature. After all on the relation of people to the nature near which they exist, itself can draw dalekoidushchy conclusions on the relation of these people to... Where and as we didn't travel - we don't reserve any garbage, we try to reduce whenever possible our influence on environment to a minimum. We clear earlier zagryazyonny tourist parking of the left garbage, we take out and we take out to utilization places that to us other people left there. We consider that only thus, at personal individual consciousness of each citizen, each tourist, climber or autotraveller, we will be able to keep the nature surrounding us in its state, natural, suitable for life, - in it pledge of the healthy future for ourselves and our children.


